Build a Random Quote Generator with HTML, CSS, and JavaScript

Building FrontendPro || Frontend Developer
In this tutorial, we'll build a Random Quote Generator frontend project from FrontendPro.dev using HTML, CSS, and JavaScript. If you're looking to practice your frontend development skills, building a random quote generator is an excellent project to start with. In this tutorial, I'll walk you through the step-by-step process of building your own Random Quote Generator from scratch.
We'll start by setting up the HTML for our web page, then add styles with CSS to make our Quote Generator look good. After that, we'll dive into the JavaScript code to fetch quotes from an external API and display them on the web page. We'll also add a Tweet button so that users can share their favourite quotes on Twitter. By the end of this tutorial, you will have a fully functional Random Quote Generator that you can also share with your friends or add to your portfolio.
So, let's get started and build a Random Quote Generator that will inspire and motivate you and your users!
Getting Started
To get the starter code for this project, head over to the FrontendPro website and sign up using your GitHub account if you haven't already. Then, navigate to the challenges page and select the "Random Quote Generator" challenge. Click the "Start Challenge" button to begin. You'll have two options: you can either start coding directly on the website, or you can download the starter code and work locally.
For this tutorial, I will be coding the project directly on the FrontendPro website using their online code editor. However, if you prefer to work locally, you can download the starter code and follow along with the steps in your preferred code editor.
Setting Up the HTML
Now that you have access to the starter code let's dive into building our Random Quote Generator project. The first step is to set up the HTML structure for our web page.
Open up the index.html file in the code editor. You should see a basic HTML structure that includes a head and a body section. We'll be working within the body section to create the layout and content for our Random Quote Generator.
To get started, let's add a main section that will hold all the elements on our web page. Inside this main section, we'll add a quote and author name, as well as buttons.
<main>
    <!-- Quote and author information will go here -->
</main>
Now, let's add a quote and author name inside the main section. We'll hard code them for now, but later on, we'll make them dynamic using JavaScript. Here's an example of what our HTML code might look like:
<main class="container">
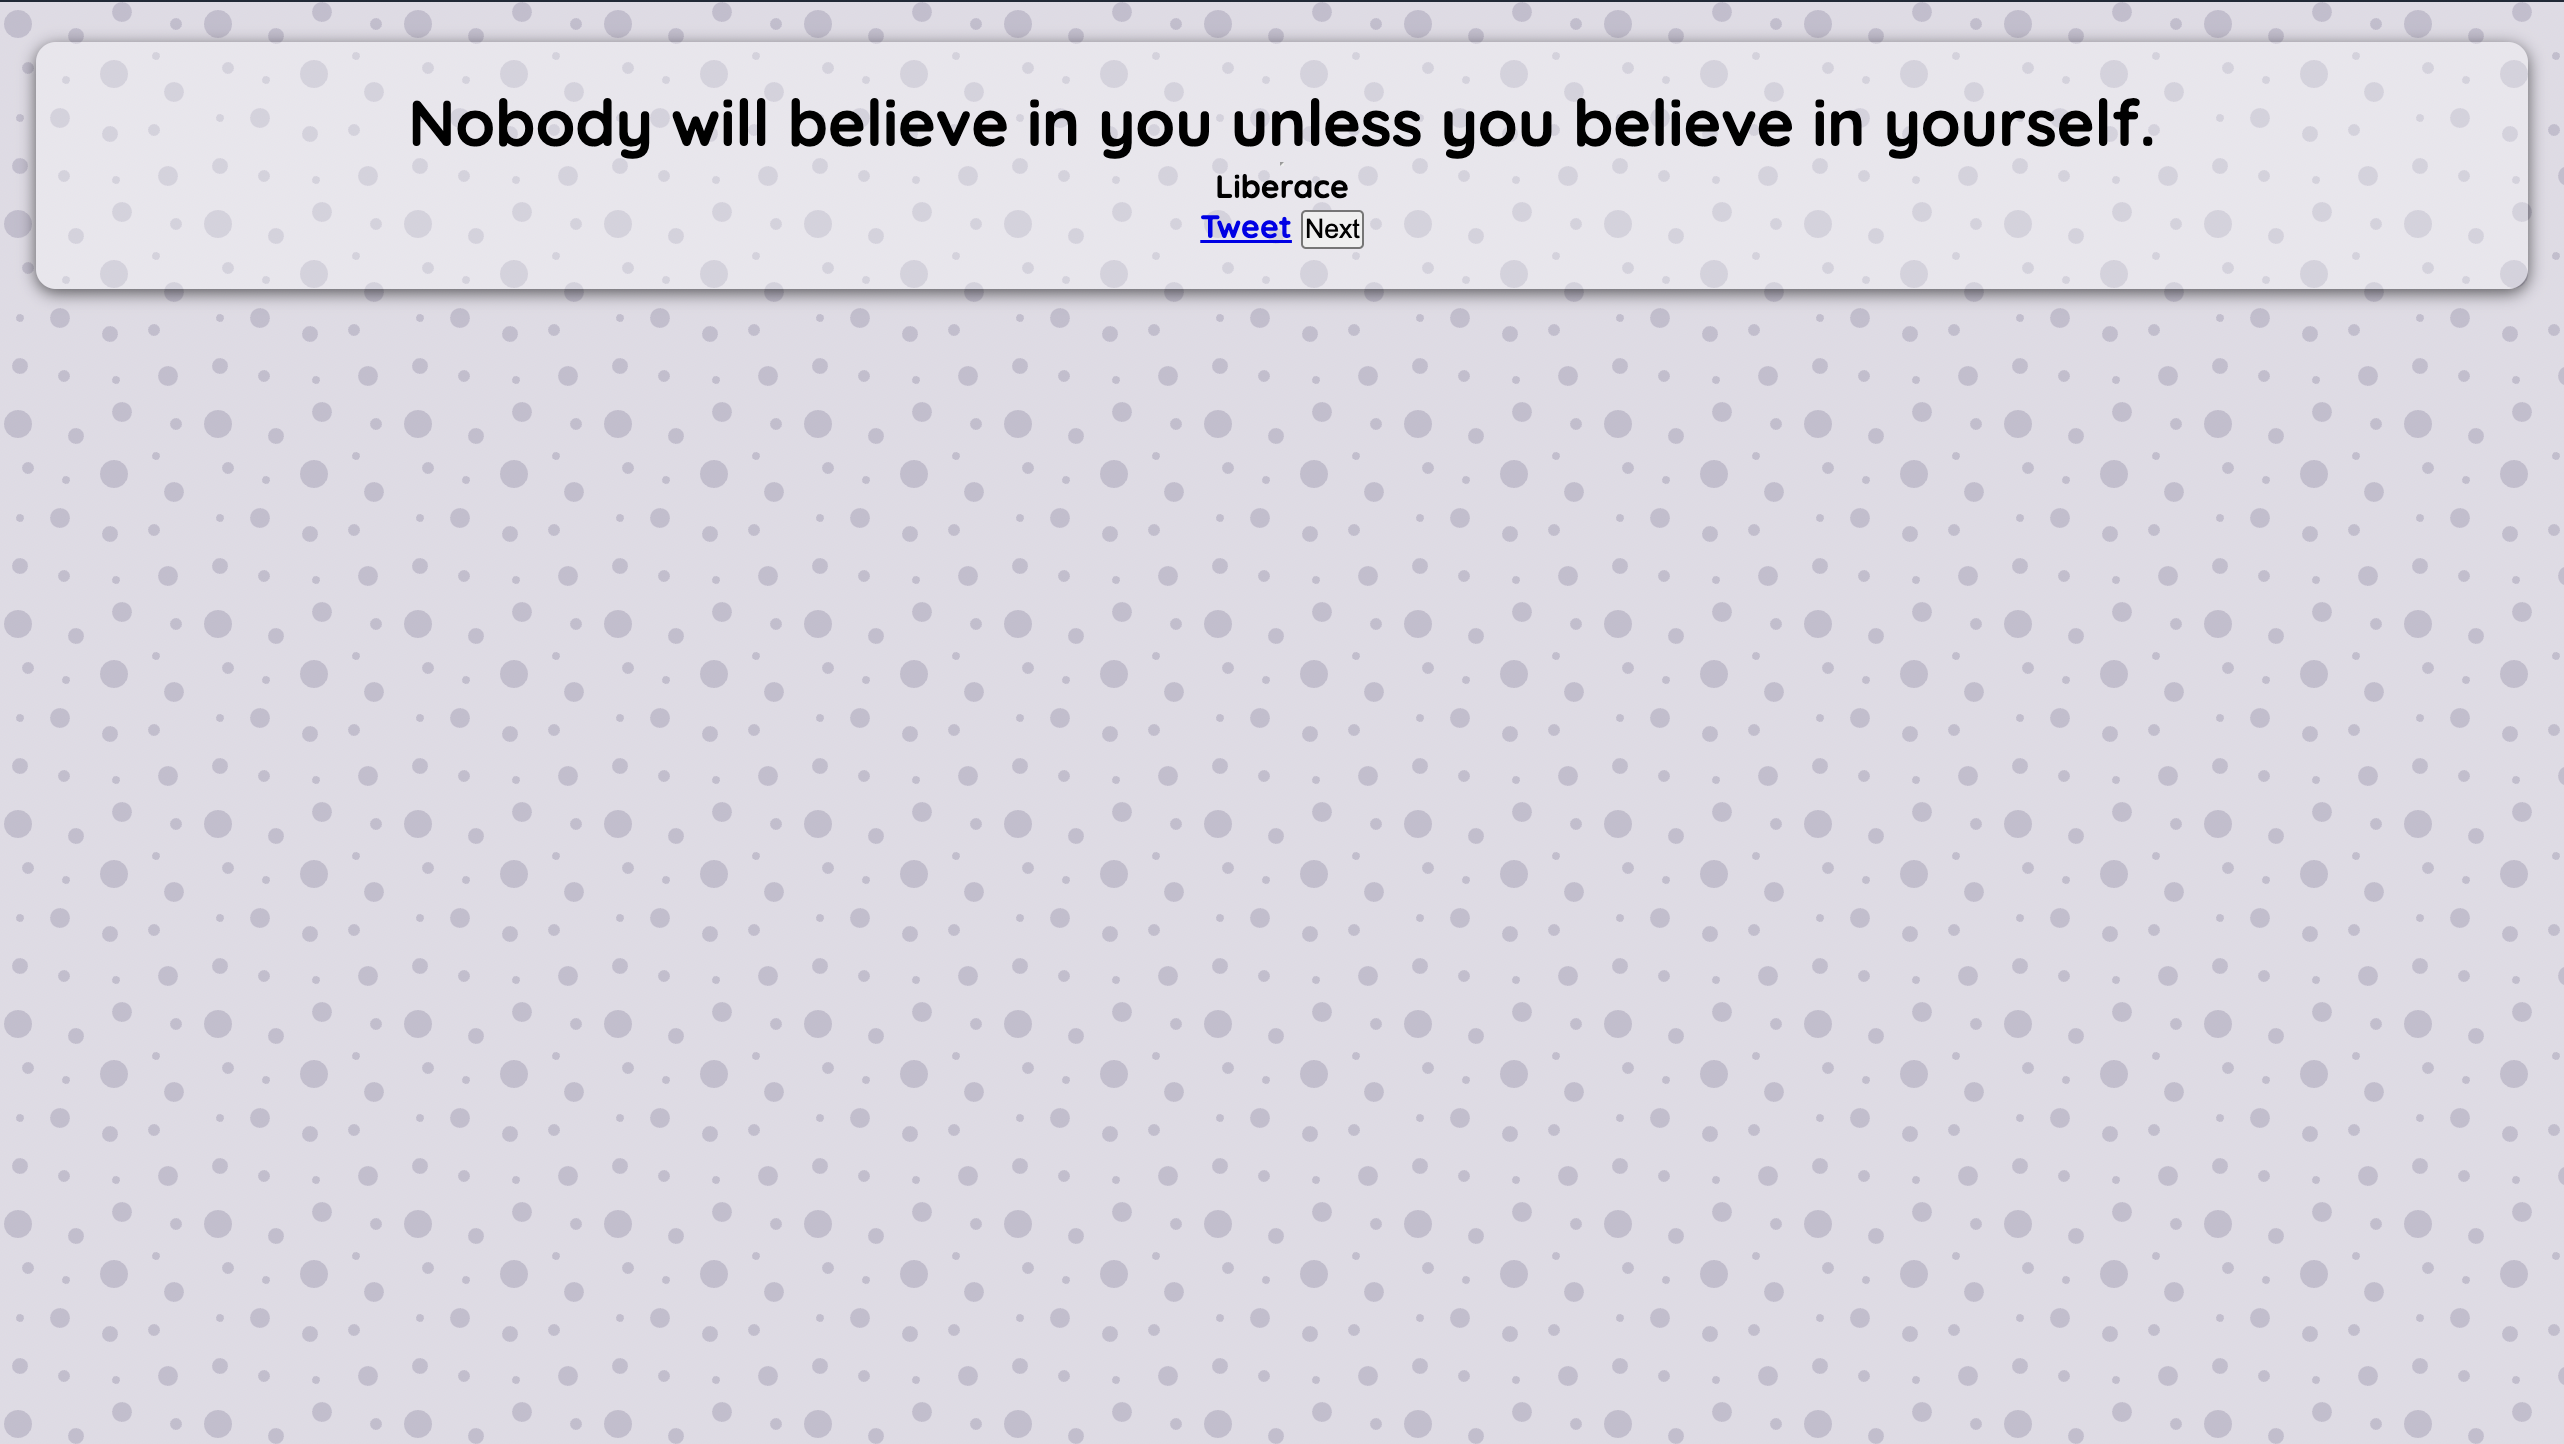
<h1 class="quote">Nobody will believe in you unless you believe in yourself.</h1>
<hr>
<p class="author">Liberace</p>
</main>
Finally, let's add a button that users can click to fetch a new quote and add a tweet button that allows users to share the current quote on Twitter. Here's what the complete HTML code for our main section might look like:
<main class="container">
    <h1 class="quote">Nobody will believe in you unless you believe in yourself.</h1>
    <hr>
    <p class="author">Liberace</p>
    <div class="controls">
        <a class="twitter-share-btn" data-size="large" href="https://twitter.com/intent/tweet?text=Hello%20world" target="_blank" rel="noopener noreferrer">Tweet</a>
        <button class="new-quote-btn">New Quote</button>
    </div>
</main>
Styling the Quote Generator with CSS
Now that we have set up our HTML structure, let's move on to styling our Random Quote Generator with CSS. The main goal of this step is to make our Quote Generator look good.
To begin, open up your style.css file and remove the default padding and margin. Additionally, let's specify a font family for our Quote Generator, like so:
@import url("https://fonts.googleapis.com/css2?family=Quicksand:wght@700&display=swap");

* {
  margin: 0;
  padding: 0;
  box-sizing: border-box;
}

body {
  font-family: "Quicksand", sans-serif;
}
Next, add a background image for our page, like this:
body {
    font-family: "Quicksand", sans-serif;
    background-color: #dfdbe5;
    background-image: url("data:image/svg+xml,%3Csvg width='100' height='100' viewBox='0 0 100 100' xmlns='http://www.w3.org/2000/svg'%3E%3Cpath d='M11 18c3.866 0 7-3.134 7-7s-3.134-7-7-7-7 3.134-7 7 3.134 7 7 7zm48 25c3.866 0 7-3.134 7-7s-3.134-7-7-7-7 3.134-7 7 3.134 7 7 7zm-43-7c1.657 0 3-1.343 3-3s-1.343-3-3-3-3 1.343-3 3 1.343 3 3 3zm63 31c1.657 0 3-1.343 3-3s-1.343-3-3-3-3 1.343-3 3 1.343 3 3 3zM34 90c1.657 0 3-1.343 3-3s-1.343-3-3-3-3 1.343-3 3 1.343 3 3 3zm56-76c1.657 0 3-1.343 3-3s-1.343-3-3-3-3 1.343-3 3 1.343 3 3 3zM12 86c2.21 0 4-1.79 4-4s-1.79-4-4-4-4 1.79-4 4 1.79 4 4 4zm28-65c2.21 0 4-1.79 4-4s-1.79-4-4-4-4 1.79-4 4 1.79 4 4 4zm23-11c2.76 0 5-2.24 5-5s-2.24-5-5-5-5 2.24-5 5 2.24 5 5 5zm-6 60c2.21 0 4-1.79 4-4s-1.79-4-4-4-4 1.79-4 4 1.79 4 4 4zm29 22c2.76 0 5-2.24 5-5s-2.24-5-5-5-5 2.24-5 5 2.24 5 5 5zM32 63c2.76 0 5-2.24 5-5s-2.24-5-5-5-5 2.24-5 5 2.24 5 5 5zm57-13c2.76 0 5-2.24 5-5s-2.24-5-5-5-5 2.24-5 5 2.24 5 5 5zm-9-21c1.105 0 2-.895 2-2s-.895-2-2-2-2 .895-2 2 .895 2 2 2zM60 91c1.105 0 2-.895 2-2s-.895-2-2-2-2 .895-2 2 .895 2 2 2zM35 41c1.105 0 2-.895 2-2s-.895-2-2-2-2 .895-2 2 .895 2 2 2zM12 60c1.105 0 2-.895 2-2s-.895-2-2-2-2 .895-2 2 .895 2 2 2z' fill='%239C92AC' fill-opacity='0.4' fill-rule='evenodd'/%3E%3C/svg%3E");
}
Next, let's add some styles to our main section to give it some structure:
.container {
  display: flex;
  flex-direction: column;
  align-items: center;
  width: 100%;
  max-width: 600px;
  padding: 20px;
  box-shadow: 0 2px 8px rgba(0, 0, 0, 0.6);
  border-radius: 10px;
  background-color: rgba(255, 255, 255, 0.3);
  margin: 20px;
}
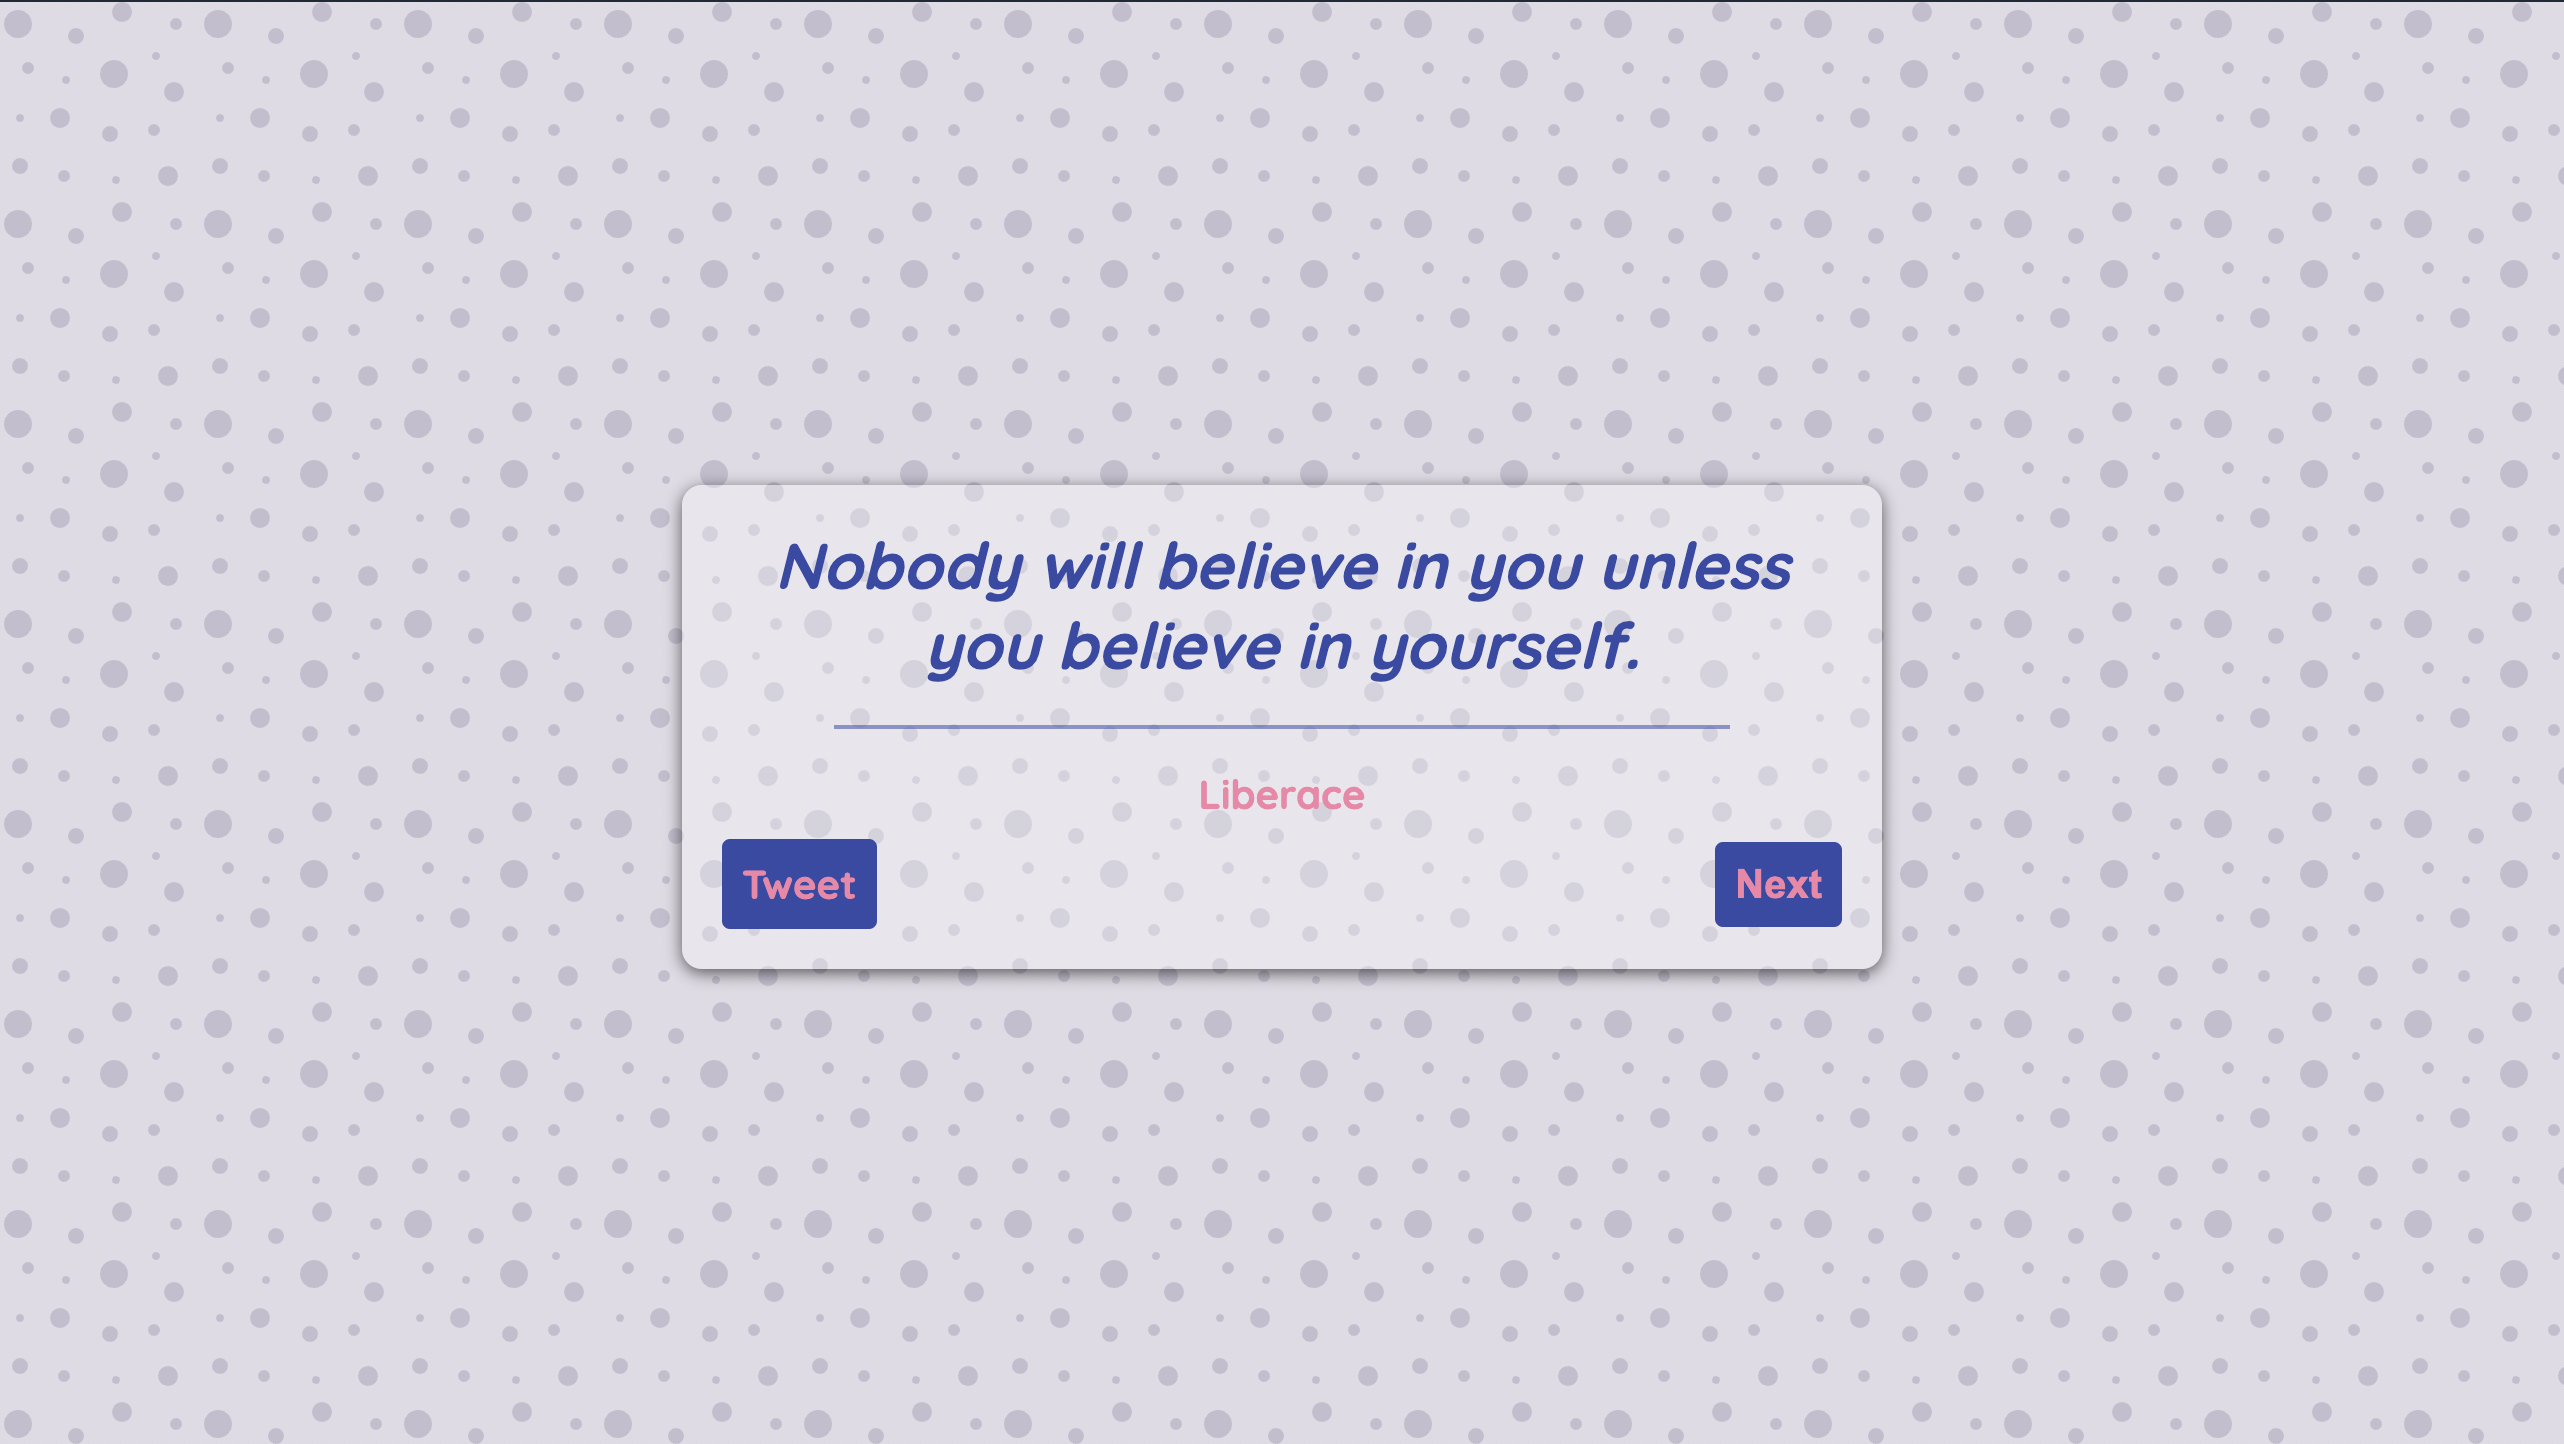
This will give our main container section a transparent background with rounded corners, some padding around the edges, a maximum width of 600 pixels, and center the content horizontally inside the container using CSS flexbox.
You should see something like this in your browser window:
To center our main container, we need to give display: flex property to the body tag. This allows us to use the flexbox layout and center the container horizontally and vertically. Here's the updated CSS code:
body {
    display: flex;
    align-items: center;
    justify-content: center;
    height: 100vh;
    /* rest of the CSS properties */
}
Next, we'll define two CSS colour variables that we'll use in our CSS code. Here's how we can define them:
:root {
  --primary-color: #364ba7;
  --secondary-color: #f583a7;
}
Now, let's style the quote and author name like this:
.quote {
  text-align: center;
  font-style: italic;
  color: var(--primary-color);
}

.author {
  color: var(--secondary-color);
  font-size: 20px;
}
Next, let's style the hr tag to add a horizontal line after the quote like this:
hr {
  margin: 10px 0;
  width: 60%;
  border: 1px solid #364ba788;
}
Finally, let's style our buttons using the CSS below:
.controls {
  width: 100%;
  display: flex;
  justify-content: space-between;
  align-items: center;
  margin-top: 10px;
}

.new-quote-btn, .twitter-share-btn {
  cursor: pointer;
  border: none;
  color: var(--secondary-color);
  font-size: 20px;
  font-weight: 700;
  background-color: var(--primary-color);
  padding: 10px;
  border-radius: 4px;
}

.twitter-share-btn {
  text-decoration: none;
}

button:focus {
  outline: none;
}
With these CSS styles, our Quote Generator is starting to look more polished. In the next section, we'll dive into the JavaScript code to make our Quote Generator dynamic and functional.
Fetching Quotes from an External API using JavaScript
In the previous sections, we set up the basic HTML structure and styled our Random Quote Generator using CSS. Now, it's time to make our Quote Generator dynamic by fetching quotes from an external API using JavaScript.
There are many APIs available on the internet that provide quotes, but for this tutorial, we'll use the Quotable API to fetch random quotes. It is a free, open-source and easy-to-use quotations API.
To get started, let's first open a index.js file and link it to our HTML file using the script tag if you haven't yet:
<script src="src/index.js"></script>
Next, we'll define a function called getQuote that will fetch a random quote from the API and display it on the web page. Here's how the code for the getQuote function might look like:
const quoteEl = document.querySelector(".quote");
const authorEl = document.querySelector(".author");

const API_URL = 'https://api.quotable.io/random';

const getQuote = async () => {
  try {
    const response = await fetch(API_URL);
    const data = await response.json();

    const quote = data.content;
    const author = data.author || 'Unknown';

    quoteEl.textContent = quote;
    authorEl.textContent = author;
  } catch (error) {
    console.log(error);
    quoteEl.textContent = 'Oops! Something went wrong.';
    authorEl.textContent = '';
  }
}
Let's go through the code step by step:
First, we use the querySelector method to target the HTML elements that we created earlier for the
quoteandauthor.Then, we define a variable called
API_URLthat contains the URL of the Quotable API.Next, we use the fetch() method to send a GET request to the API URL, which returns a promise. So, we use the
awaitkeyword to wait for the promise to be resolved before executing the next line of code.Once the promise is resolved, we call the
json()method on theresponseobject, which also returns a promise. We use theawaitkeyword again to wait for this second promise to be resolved and return the parsed JSON data, which we save in a variable calleddata.We then extract the
quoteandauthorinformation from thedataand store them in variables calledquoteandauthor.After that, we update the content of
quoteElandauthorElusing the textContent property.Finally, we wrap the code in a try-catch block to handle errors that may occur while fetching the quote. In case of an error, we catch it and update the quote element with an error message.
Generating Random Quotes with JavaScript
Now that we have defined the getQuote function, we need to call it when the page loads and when the "New Quote" button is clicked. Here's how we can do that:
const newQuoteBtn = document.querySelector(".new-quote-btn")

// rest of the code

getQuote(); // fetching a quote on page load

newQuoteBtn.addEventListener('click', getQuote); // attaching an event listener to the new quote button
And that's it! We have successfully fetched a random quote from an external API and displayed it on our web page using JavaScript. In the next section, we'll add a "Tweet" button that will allow users to share their favourite quotes on Twitter.
Adding the Tweet Button
Now that we have our Random Quote Generator working properly, it's time to add a Tweet button that allows users to share the quote on Twitter.
To do this, we'll create a function called setTweetButtonHref that will update the href attribute of our tweet button with the current quote and author. We'll then call this function each time we fetch a new quote using our getQuote() function.
Here's how we can create the setTweetButtonHref function:
const tweetButton = document.querySelector('.twitter-share-btn');

// rest of the code

function setTweetButtonHref(quote, author) {
  const tweetText = `"${quote}" - ${author}`;
  const tweetHref = `https://twitter.com/intent/tweet?text=${tweetText}`;
  tweetButton.setAttribute('href', tweetHref);
}
First, we use the querySelector method to select our tweet button. We then create a tweetText variable that includes the current quote and author.
Next, we create a tweetHref variable that contains the URL to share the quote on Twitter. We include the tweetText in the text parameter of the URL.
Finally, we use the setAttribute method to update the href attribute of our tweet button with the tweetHref variable.
Now, we just need to call this function each time we fetch a new quote using our getQuote() function. We can do this by adding the following line of code just above the catch block of the getQuote() function:
const getQuote = async () => {
  try {
    const response = await fetch(API_URL);
    const data = await response.json();

    const quote = data.content;
    const author = data.author || 'Unknown';

    quoteEl.textContent = quote;
    authorEl.textContent = author;

    setTweetButtonHref(quote, author); // function call
  } catch (error) {
    console.log(error);
    quoteEl.textContent = 'Oops! Something went wrong.';
    authorEl.textContent = '';
  }
}
With these changes, users can now share the quote and author information on Twitter using the "Tweet" button.
Conclusion
In this blog, we have learned how to build a random quote generator frontend project using HTML, CSS, and JavaScript. We started by setting up the HTML structure and styling the app with CSS. Then we learned how to fetch quotes from an external API using JavaScript's fetch() method and display them dynamically on the web page. Finally, we added a Tweet button to allow users to share their favourite quotes on Twitter.
This project is a great way to practice your front-end web development skills, build frontend projects for your portfolio and learn more about working with APIs and JavaScript. Remember that this is just the beginning, and there's always more to learn and improve upon. Keep experimenting and building on what you've learned to create more advanced and useful web applications.
Thank you for following along with this tutorial, and we hope it has been helpful in your learning journey. Good luck!👍
Start your frontend development journey today with FrontendPro!


