Build a Custom Toast Notification Component with ReactJs & Context API

Building FrontendPro || Frontend Developer
Toast notifications are a popular way to provide users with quick feedback and alerts on actions they take on the web application. While there are many pre-built libraries available for adding toast notifications to your React project, building your own custom component can provide greater flexibility and control over the user experience.
In this blog post, I will guide you through the process of building a custom toast notification component using ReactJs and the Context API. You'll learn how to use Context API and the useReducer hook to manage the state of your toast notification component. We'll also show you how to customize the position of your notification and add a progress bar to display the remaining time. Additionally, we'll implement a pause on hover and a dismiss button functionality.
By the end of this tutorial, you'll have a fully functional custom toast notification component that you can customize according to your project's design and functionality requirements. So, let's start building!
Demo
Check out this video demo to see the final Custom Toast Notification Component in action:
Cloning the starter code
Before we begin building our custom toast notification component, let's clone the starter code from GitHub for our React project.
To do this, open up your terminal and navigate to the directory where you want to clone your project. Then, run the following command:
git clone https://github.com/rishipurwar1/react-custom-toast-notification.git
Once the cloning process is complete, navigate into the project directory by running:
cd react-custom-toast-notification
You will find the CSS code for this project in the src/App.css file, which is imported into the App.js file.
Now, we'll install all the dependencies of our project. Enter the following command in your terminal:
npm install
This command will install all the required packages listed in the package.json file.
Next, we'll start the development server by running:
npm start
You should see something like this on your browser:
Now that we have our React project set up, we can move on to creating our custom toast notification component.
Creating the Toast Notification Component
We will start by creating a new file in the src/components folder called Toast.js. Inside the Toast.js file, we will define our functional component Toast which will return the toast notification markup.
const Toast = () => {
  return (
    <div>
      {/* toast notification markup */}
    </div>
  )
}

export default Toast;
Next, we will define the markup for our toast notification. In this example, we will create a toast notification with a message, an icon and a dismiss button.
import {
  IconAlertCircleFilled,
  IconCircleCheckFilled,
  IconCircleXFilled,
  IconInfoCircleFilled,
  IconX,
} from "@tabler/icons-react";

const toastTypes = {
  success: {
    icon: <IconCircleCheckFilled />,
    iconClass: "success-icon",
    progressBarClass: "success",
  },
  warning: {
    icon: <IconAlertCircleFilled />,
    iconClass: "warning-icon",
    progressBarClass: "warning",
  },
  info: {
    icon: <IconInfoCircleFilled />,
    iconClass: "info-icon",
    progressBarClass: "info",
  },
  error: {
    icon: <IconCircleXFilled />,
    iconClass: "error-icon",
    progressBarClass: "error",
  },
};

const Toast = ({ message, type, id }) => {
  const { icon, iconClass, progressBarClass } = toastTypes[type];

  return (
    <div className="toast">
      <span className={iconClass}>{icon}</span>
      <p className="toast-message">{message}</p>
      <button className="dismiss-btn">
        <IconX size={18} color="#aeb0d7" />
      </button>
    </div>
  )
}

export default Toast;
In the above code, we have imported some icons from @tabler/icons-react library. Then we have defined an object called toastTypes to make our toast notification component more flexible. This object contains data for different types of notifications, such as success, warning, info, and error. Each type has its specific icon, iconClass, and progressBarClass associated with it. While progressBarClass is currently unused, it will be used later to give a background color to the progress bar. You can find the CSS code for all these classes in the App.css file.
The Toast component takes three props - message, type, and id. The message prop is used to display the text message of the notification. The type prop is used to determine the type of notification and the corresponding icon and icon class name.
Although the id prop is not currently used in the above code, we will use it later to remove the notification.
Finally, we have defined a dismiss button in our Toast component, which will allow the user to remove the notification.
Now that we have created the Toast component, let's create a container component called ToastsContainer that will hold all the Toast components.
Let's create a new file ToastsContainer.js in the src/components directory and add the following code:
import Toast from './Toast';

const ToastsContainer = ({ toasts }) => {
  return (
    <div className="toasts-container">
      {toasts.map((toast) => (
        <Toast key={toast.id} {...toast} />
      ))}
    </div>
  );
};

export default ToastsContainer;
The ToastsContainer component accepts an array of toast objects as the toasts prop. It then maps over this array using the map method and renders a Toast component for each object. We are using the spread syntax {...toast} to pass all the properties of the toast object, such as message, type, and id, as individual props to the Toast component.
We'll render the ToastsContainer component inside the ToastContextProvider component, which we have yet to create.
Setting up the Toast Notification Context
Now that we have our Toast and ToastsContainer components set up, it's time to move on to the next step, which is creating a context for our toast notifications.
First, let's create a new file called ToastContext.js in the src/contexts folder. Inside this file, we'll create a new context using the createContext function provided by React:
// ToastContext.js
import { createContext } from "react";

export const ToastContext = createContext();
We've created a new ToastContext using the createContext function, and we've exported it so that we can use it in other parts of our application.
Now, let's create a ToastContextProvider component that will wrap our entire application and provide the ToastContext to all of its children:
// ToastContext.js
export const ToastContextProvider = ({ children }) => {

  return (
    <ToastContext.Provider value={{}}>
      {children}
    </ToastContext.Provider>
  );
};
Creating the Toast Notification Reducer Function
Next, let's create a new file called toastReducer.js in the src/reducers folder. In this file, we'll create a toastReducer function to manage the state of the toasts:
// toastReducer.js
export const toastReducer = (state, action) => {
  switch (action.type) {
    case "ADD_TOAST":
      return {
        ...state,
        toasts: [...state.toasts, action.payload],
      };
    case "DELETE_TOAST":
      const updatedToasts = state.toasts.filter(
        (toast) => toast.id !== action.payload
      );
      return {
        ...state,
        toasts: updatedToasts,
      };
    default:
      throw new Error(`Unhandled action type: ${action.type}`);
  }
};
Our toastReducer function takes in a state and an action and returns a new state based on the action type. We have two types of actions: ADD_TOAST, which adds a new toast to the toasts array in our state, and DELETE_TOAST, which removes a toast from the toasts array based on its ID.
Now let's go back to the ToastContext.js file and import the toastReducer function and useReducer hook:
// ToastContext.js
import { createContext, useReducer} from "react";
import { toastReducer } from "../reducers/toastReducer";
Inside the ToastContext.Provider component, we'll use the useReducer hook that takes in the toastReducer function and intialState:
// ToastContext.js
const initialState = {
  toasts: [],
};

export const ToastContextProvider = ({ children }) => {
  const [state, dispatch] = useReducer(toastReducer, initialState);

  return (
    <ToastContext.Provider value={{}}>
      {children}
    </ToastContext.Provider>
  );
};
Now, we need to create some functions inside the ToastContextProvider component to add and remove toasts from the state. Firstly, we'll create an addToast function that takes in message and type as arguments and dispatches an ADD_TOAST action to add a new toast to the state:
// ToastContext.js
const addToast = (type, message) => {
  const id = Math.floor(Math.random() * 10000000);
  dispatch({ type: "ADD_TOAST", payload: { id, message, type } });
};
In addition to the addToast function, we'll create individual functions for each type of toast notification - success, warning, info, and error. These functions will call the addToast function with the corresponding type:
// ToastContext.js
 const success = (message) => {
    addToast("success", message);
  };

  const warning = (message) => {
    addToast("warning", message);
  };

  const info = (message) => {
    addToast("info", message);
  };

  const error = (message) => {
    addToast("error", message);
  };
To remove toast notifications, we'll create a remove function that takes in a toast id as an argument and dispatches a DELETE_TOAST action to remove the toast from the state:
// ToastContext.js
const remove = (id) => {
  dispatch({ type: "DELETE_TOAST", payload: id });
};
Then, create a value object that holds all the functions we have created and pass it to the ToastContext.Provider component:
// ToastContext.js
export const ToastContextProvider = ({ children }) => {
  // rest of the code

  const value = { success, warning, info, error, remove };

  return (
    <ToastContext.Provider value={value}>
      {children}
    </ToastContext.Provider>
  );
};
Next, we need to render the ToastsContainer component inside the ToastContextProvider component like this:
// import ToastsContainer
import ToastsContainer from "../components/ToastsContainer";

export const ToastContextProvider = ({ children }) => {
  const [state, dispatch] = useReducer(toastReducer, initialState);
  // rest of the code

  return (
    <ToastContext.Provider value={value}>
      <ToastsContainer toasts={state.toasts} />
      {children}
    </ToastContext.Provider>
  );
};
Finally, wrap our App component in the ToastContextProvider component in order to make the context available to all of our child components:
// src/index.js
import { ToastContextProvider } from "./contexts/ToastContext";

root.render(
  <React.StrictMode>
    <ToastContextProvider>
      <App />
    </ToastContextProvider>
  </React.StrictMode>
);
Creating the useToast Hook
Next, let's create our custom hook, useToast.js, in the src/hooks folder, which will allow us to access the toast-related functions from the ToastContext directly without having to manually call useContext and import the ToastContext in every component.
// useToast.js

import { useContext } from 'react';
import { ToastContext } from "../contexts/ToastContext";

export const useToast = () => useContext(ToastContext);
The useToast hook is a simple function that utilizes the useContext hook from React to access the ToastContext. This hook provides a simple and intuitive API for showing different types of toasts in our application since it returns the context's value, which includes all the functions for adding and removing toasts.
Using the useToast Hook
Now that we have created our custom hook useToast, we can use it to show toasts in our components. This hook provides a value of the context containing all the toast functions that we defined earlier: success, warning, info, error, and remove.
To use the hook, we simply need to import it into our App component and call it to get access to the value object. After that, we can assign it to a variable named toast:
// App.js

import { useToast } from "./hooks/useToast";

const App = () => {
  const toast = useToast();

  return (
    // JSX
  );
};
Next, we need to add an onClick event to each of the buttons defined in the App component so that when a button is clicked, it should display the corresponding toast notification.
For example, to show a success toast, we would call toast.success("MESSAGE"), where MESSAGE is the text we want to display in the toast.
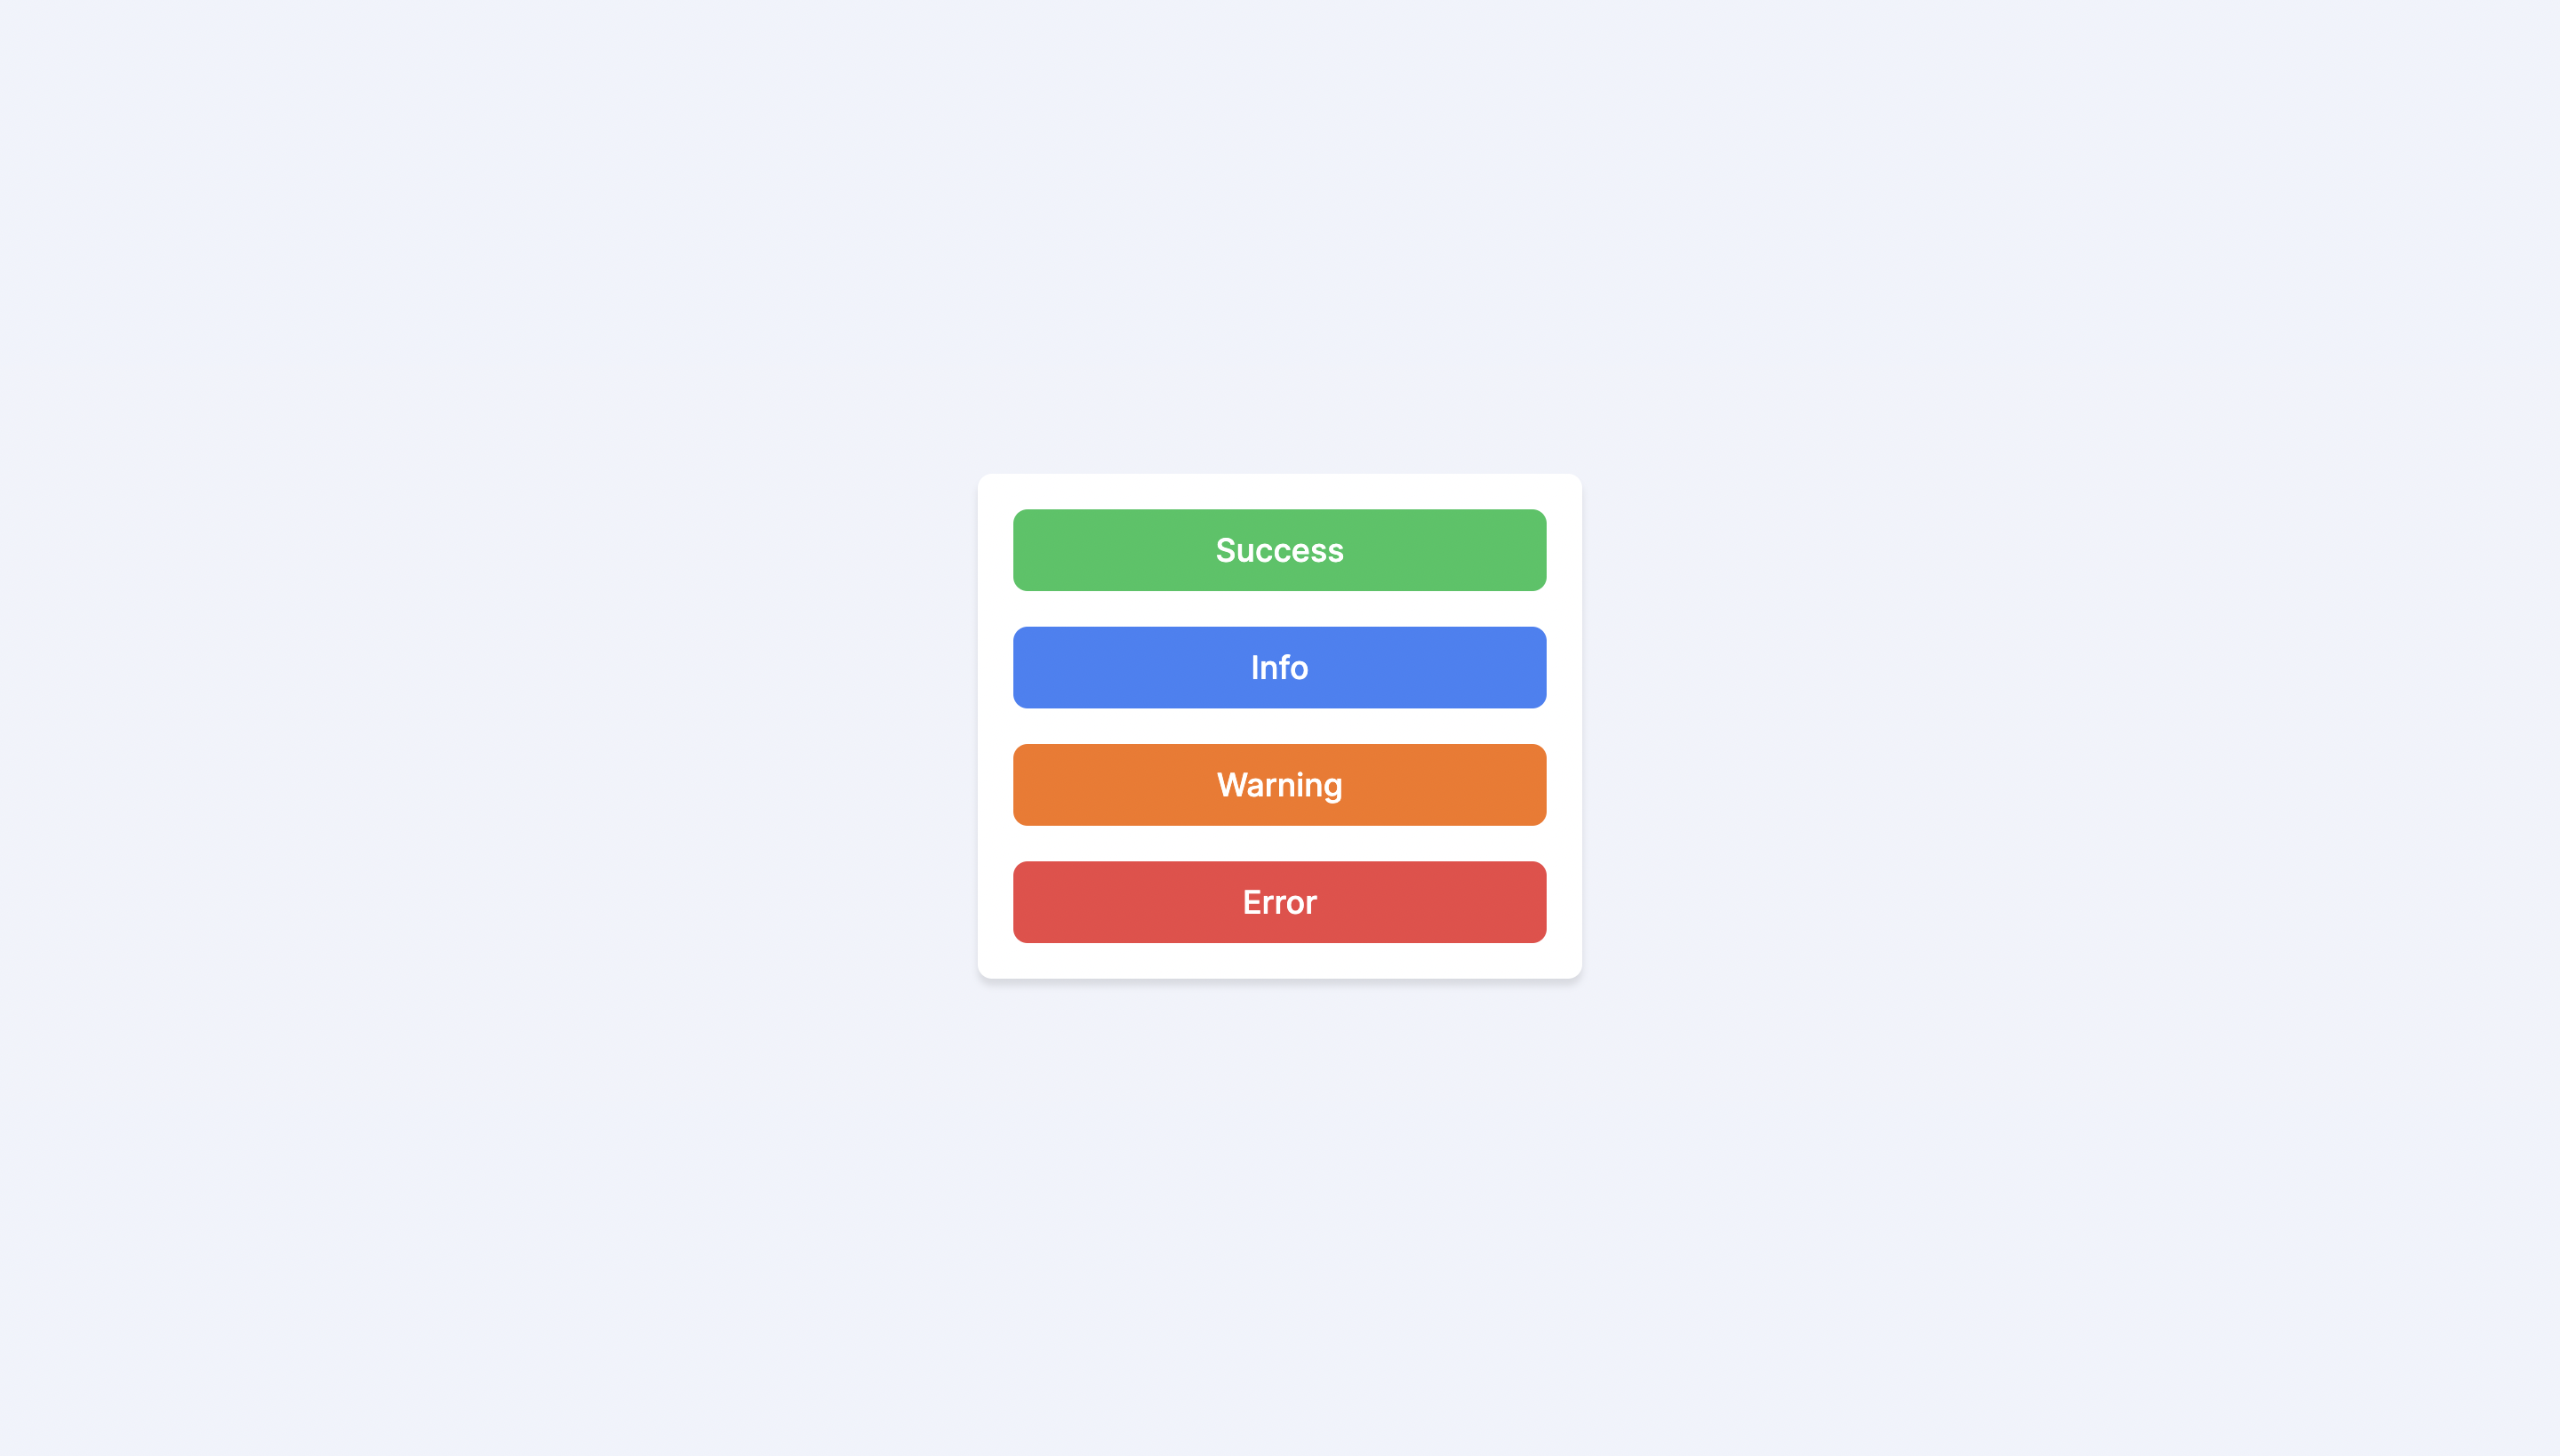
Here's an example of how we can use the useToast hook in an App component:
// App.js

const App = () => {
  const toast = useToast();

  return (
    <div className="app">
      <div className="btn-container">
        <button
          className="success-btn"
          onClick={() => toast.success("Success toast notification")}
        >
          Success
        </button>
        <button
          className="info-btn"
          onClick={() => toast.info("Info toast notification")}
        >
          Info
        </button>
        <button
          className="warning-btn"
          onClick={() => toast.warning("Warning toast notification")}
        >
          Warning
        </button>
        <button
          className="error-btn"
          onClick={() => toast.error("Error toast notification")}
        >
          Error
        </button>
      </div>
    </div>
  );
};
Now, you should be able to create new toast notifications by clicking on those buttons.
Using the useToast hook can make adding and removing toasts in our app easier, and it's also a great way to keep your code clean and organized.
Check out my open-source project, FrontendPro to take your frontend development skills to the next level for FREE!
Adding dismiss button functionality
To add this functionality, we'll first import the useToast hook in our Toast component and call the useToast hook to get access to the value object.:
// Toast.js
import { useToast } from "../hooks/useToast";

const Toast = ({ message, type, id }) => {
  const { toastClass, icon, iconClass } = toastTypes[type];
  const toast = useToast() // call useToast

  return (
    <div className={`toast ${toastClass}`}>
      <span className={iconClass}>{icon}</span>
      <p className="toast-message">{message}</p>
      <button className="dismiss-btn">
        <IconX size={18} color="#aeb0d7" />
      </button>
    </div>
  );
};
Next, we'll define a handleDismiss function, which will call the toast.remove() function with a toast id to remove the toast. We will then attach an onClick event to the dismiss button to call the handleDismiss function:
const Toast = ({ message, type, id }) => {
  // code

  const handleDismiss = () => {
   toast.remove(id);
  };

  return (
    <div className={`toast ${toastClass}`}>
      <span className={iconClass}>{icon}</span>
      <p className="toast-message">{message}</p>
      {/* Add onClick */}
      <button className="dismiss-btn" onClick={handleDismiss}>
        <IconX size={18} color="#aeb0d7" />
      </button>
    </div>
  );
};
With this change, you can now manually remove a toast by clicking the dismiss button.
Adding a Progress Bar and Auto-Dismiss Timer
In this section, we will add a progress bar that will indicate how much time is remaining before the toast disappears and an auto-dismiss timer to automatically remove toast after a certain amount of time.
To implement the auto-dismiss timer functionality, we will use the useEffect hook to attach a timer to each toast using setTimeout when it's mounted. This timer will call the handleDismiss function after a certain amount of time has passed, which will remove the toast from the screen.
We can achieve this by adding the following code to our Toast component:
// Toast.js
import { useEffect, useRef } from "react"; // import useEffect & useRef

const Toast = ({ message, type, id }) => {
  // rest of the code
  const timerID = useRef(null); // create a Reference

  const handleDismiss = () => {
    toast.remove(id);
  };

  useEffect(() => {
    timerID.current = setTimeout(() => {
      handleDismiss();
    }, 4000);

    return () => {
      clearTimeout(timerID.current);
    };
  }, []);

  return (
    // JSX
  );
};
In the above code, we create a new timer using setTimeout that will call the handleDismiss function after 4000 milliseconds (or 4 seconds). We then return a cleanup function from the useEffect hook that will clear the timer using the clearTimeout function when the Toast component is unmounted. With these changes, our Toast component will now automatically remove itself after 4 seconds.
Now let's add the progress bar to our Toast component. First, update the JSX of our Toast component to include the progress bar like this:
const Toast = ({ message, type, id }) => {
  // code

  return (
    <div className="toast">
      <span className={iconClass}>{icon}</span>
      <p className="toast-message">{message}</p>
      <button className="dismiss-btn" onClick={handleDismiss}>
        <IconX size={18} color="#aeb0d7" />
      </button>

      {/* Toast Progress Bar */}
      <div className="toast-progress">
        <div className={`toast-progress-bar ${progressBarClass}`}></div>
      </div>

    </div>
  );
};
Next, we need to style and animate the progress bar using CSS:
.toast-progress {
  position: absolute;
  bottom: 0;
  left: 0;
  width: 100%;
  height: 4px;
  background-color: rgba(0, 0, 0, 0.1);
}

.toast-progress-bar {
  height: 100%;
  animation: progress-bar 4s linear forwards;
}

.toast-progress-bar.success {
  background-color: var(--success);
}

.toast-progress-bar.info {
  background-color: var(--info);
}

.toast-progress-bar.warning {
  background-color: var(--warning);
}

.toast-progress-bar.error {
  background-color: var(--error);
}

@keyframes progress-bar {
  0% {
    width: 100%;
  }
  100% {
    width: 0%;
  }
}
In the above code, we define the progress bar style in the .toast-progress and .toast-progress-bar CSS classes.
Additionally, we define four more CSS classes: .toast-progress-bar.success, .toast-progress-bar.info, .toast-progress-bar.warning, and .toast-progress-bar.error. These classes define the background color of the progress bar based on the dynamic progressBarClass value in the Toast component.
We also use the @keyframes rule to define the progress-bar animation. This animation animates the width of the progress bar from 100% to 0% over 4 seconds.
After applying these changes, our Toast component now displays an animated progress bar.
Adding Hover on Pause functionality
After adding the progress bar to our Toast component, we can now further enhance its functionality by adding a pause on the hover feature. With this feature, users can pause the auto-dismiss timer and the progress bar animation by simply hovering their mouse over the Toast.
To add the hover-on pause functionality, we can use the onMouseEnter and onMouseLeave events in React. When the user hovers over the Toast, we can clear the auto-dismiss timer using the clearTimeout function to pause the timer. Then, when they move their mouse away, we can start a new timer with the remaining time.
First, let's create a new reference called progressRef and attach it to the progress bar element to track whether the progress bar animation is currently paused or not.
// Toast.js
const progressRef = useRef(null);

{/* Toast Progress Bar */}
<div className="toast-progress">
    <div
      ref={progressRef}
      className={`toast-progress-bar ${progressBarClass}`}
    ></div>
</div>
Next, we will create handleMouseEnter function to handle the onMouseEnter event. When the mouse enters the toast, we will clear the timer using the clearTimeout and set the progress bar animation to paused to pause the animation.
// Toast.js
const handleMouseEnter = () => {
  clearTimeout(timerID.current);
  progressRef.current.style.animationPlayState = "paused";
};
Similarly, we will create a handleMouseLeave function to handle the onMouseLeave event. When the mouse leaves the toast, we will set the progress bar animation back to running to resume the animation.
  const handleMouseLeave = () => {
    const remainingTime =
      (progressRef.current.offsetWidth /
        progressRef.current.parentElement.offsetWidth) *
      4000;

    progressRef.current.style.animationPlayState = "running";

    timerID.current = setTimeout(() => {
      handleDismiss();
    }, remainingTime);
  };
In the above code, we first calculate the remaining time by dividing the current width of the progress bar by the total width of the progress bar container and multiplying it by the total duration (which is 4 seconds in our case).
Next, we set the animation play state back to running to resume the progress bar animation. Then, we create a new timer using setTimeout and pass in the handleDismiss function as the callback, which will automatically dismiss the Toast after the remaining time has passed. This ensures that the Toast will still auto-dismiss even if the user pauses the animation for a certain period of time.
Now we need to add these event listeners to the wrapper div of the Toast component.
const Toast = ({ message, type, id }) => {
  // rest of the code
  return (
    <div
      className="toast"
      onMouseEnter={handleMouseEnter}
      onMouseLeave={handleMouseLeave}
    >
      <span className={iconClass}>{icon}</span>
      <p className="toast-message">{message}</p>
      <button className="dismiss-btn" onClick={handleDismiss}>
        <IconX size={18} color="#aeb0d7" />
      </button>
      {/* Toast Progress Bar */}
      <div className="toast-progress">
        <div
          ref={progressRef}
          className={`toast-progress-bar ${progressBarClass}`}
        ></div>
      </div>
    </div>
  );
};
With these changes, users can now hover over the Toast to pause the animation and resume it when they move their mouse away.
Customizing Toast Notification Component position
To customize the position of our Toast notification component, we can pass a different position class as a prop to the ToastsContainer component and add the corresponding CSS for that class. By default, our ToastsContainer component is positioned at the top right of the screen using the .toasts-container class.
Let's first create a few more position classes in our CSS file and remove the default top and right property from the .toasts-container:
.toasts-container {
  display: flex;
  flex-direction: column-reverse;
  row-gap: 12px;
  position: fixed;
  z-index: 9999;
}

.top-right {
  top: 16px;
  right: 16px;
}

.top-left {
  top: 16px;
  left: 16px;
}

.top-center {
  top: 16px;
  left: 50%;
  transform: translateX(-50%);
}

.bottom-left {
  bottom: 16px;
  left: 16px;
}

.bottom-center {
  bottom: 16px;
  left: 50%;
  transform: translateX(-50%);
}

.bottom-right {
  bottom: 16px;
  right: 16px;
}
Next, let's update our ToastsContainer component to accept a position prop and add that to the wrapper div:
const ToastsContainer = ({ toasts, position = "top-right" }) => {
  return (
    <div className={`toasts-container ${position}`}>
      {toasts.map((toast) => (
        <Toast key={toast.id} {...toast} />
      ))}
    </div>
  );
};
Now, when we use the ToastsContainer component, we can pass a different position prop to customize its position on the screen:
// ToastContext.js
<ToastContext.Provider value={value}>
   <ToastsContainer toasts={state.toasts} position="bottom-right" />
   {children}
</ToastContext.Provider>
With these changes, we can customize the position of our Toast notifications by simply passing a position class as a prop.
Adding animation to the Toast component
Currently, our Toast notifications appear and disappear suddenly without any animation. In this section, we will add a slide-in and slide-out animation to the Toast component using CSS.
To add a slide-in effect, we can use the @keyframes rule to define an animation that gradually changes the opacity of the Toast from 0 to 1 and translates it from 100% to 0% along the x-axis. We can then apply this animation to the .toast class using the animation property in CSS.
/* App.css */

.toast {
  /* rest of the properties */
  animation: slide-in 0.4s ease-in-out forwards;
}

@keyframes slide-in {
  0% {
    opacity: 0;
    transform: translateX(100%);
  }
  100% {
    opacity: 1;
    transform: translateX(0%);
  }
}
To add a slide-out effect, we can use a similar approach. We can define another animation using the @keyframes rule that gradually changes the opacity of the Toast from 1 to 0 and translates it from o% to 100%.
/* App.css */

.toast-dismissed {
  animation: slide-out 0.4s ease-in-out forwards;
}

@keyframes slide-out {
  0% {
    opacity: 1;
    transform: translateX(0%);
  }
  100% {
    opacity: 0;
    transform: translateX(100%);
  }
}
To apply the .toast-dismissed class to the Toast component when it is dismissed, we can create a new state variable called dismissed and set it to true when the Toast is removed. Then, we can conditionally add the .toast-dismissed class to the Toast component based on the value of dismissed.
// import useState hook
import { useEffect, useRef, useState } from "react";

const Toast = ({ message, type, id }) => {
  // rest of the code
  const [dismissed, setDismissed] = useState(false);

  const handleDismiss = () => {
    setDismissed(true);
    setTimeout(() => {
      toast.remove(id);
    }, 400);
  };

  return (
    <div
      className={`toast ${dismissed ? "toast-dismissed" : ""}`}
      onMouseEnter={handleMouseEnter}
      onMouseLeave={handleMouseLeave}
    >
      {/* rest of the code */}
    </div>
  );
};
In the above code, we have also updated the handleDismiss function slightly. Now, when the dismiss button is clicked, or the auto-dismiss timer is completed, the dismissed state variable is set to true, and the .toast-dismissed class is added to the Toast component. This will trigger the slide-out animation defined in the slide-out keyframe animation. Finally, after a short delay of 400ms, we remove the Toast component using the toast.remove() function.
With these changes, we have added animations to our Toast component. When the Toast component appears, it slides in from the right of the screen, and when it is dismissed, it slides out in the same direction.
Conclusion
In this blog, we covered various aspects of building the Toast Notification component, including creating a context, creating a Toast component, and adding functionality such as an auto-dismiss timer, progress bar, pause on hover, and animation. We also learned how to customize the position of the Toast component using CSS.
With this custom Toast notification component, you can easily add beautiful and informative notifications to your application. The possibilities for customization are endless, and you can tailor the component to your specific needs.
We hope this blog has been helpful and informative, and we encourage you to try building your own custom Toast notification component using ReactJS and Context API.
If you have any feedback or suggestions, please feel free to leave them in the comments section below. Also, don't forget to follow me on Twitter for more exciting content. Thank you for reading!
Check out my open-source project, FrontendPro to take your frontend development skills to the next level for FREE!


